


Wedding season is upon us and so are fun summer soirees! So don't just show up wearing the same generic clutch, why not add a bit of chicness to a classic? Read on and in just a few easy steps you too can elevate a simple clutch into a statement clutch!

You'll need:
A plain clutch ( I got mine at a thrift store)
A pair of scissors
pearl stickers (a craft store)
Super Glue
A few sticky note sheets

Depending on your design, cut 1 or 2 sticky note sheets into small squares, about the same size as your pearls.
You will be using these as markers for your actual pearl design prior to gluing down your pearls onto your clutch

Place the small cut out squares on the bag in the likeness of your design until you are satisfied with the way it looks

Now, begin to replace the sticky note squares with your actual pearls. Because the pearls are stickers, just place them on the cltuch to get a feel of how it would look prior to super gluing it.
Once you are satisfied with the way the pearls look on your clutch you are ready to glue

Remove and glue each pearl onto the bag, be careful not to get any glue on top of the pearl because it will peel off the plastic covering. If you do, remove the pearl and replace it with another one.

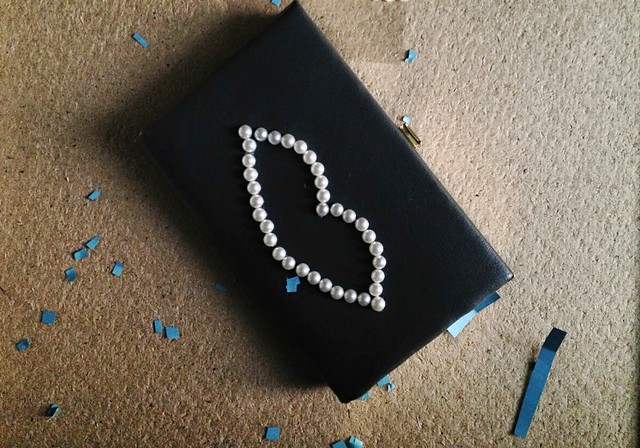
Glue all the pearls down with super glue and you are done!

Now go off and enjoy a fancy evening with your upgraded clutch!
xx


No comments:
Post a Comment